
Adirondack case guy
Well-known Member
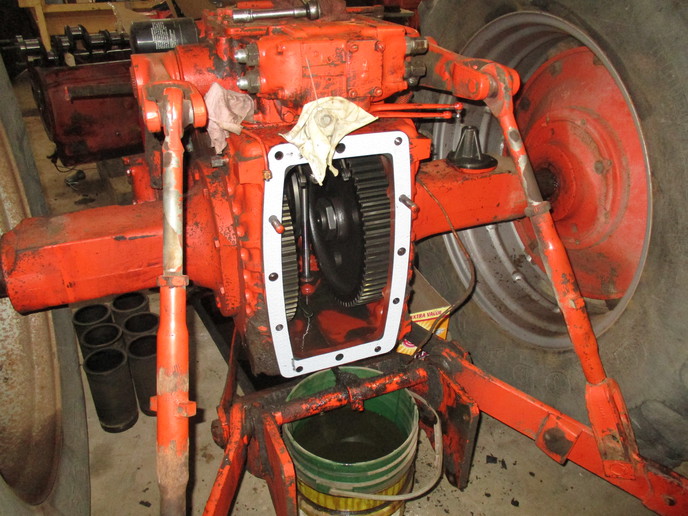
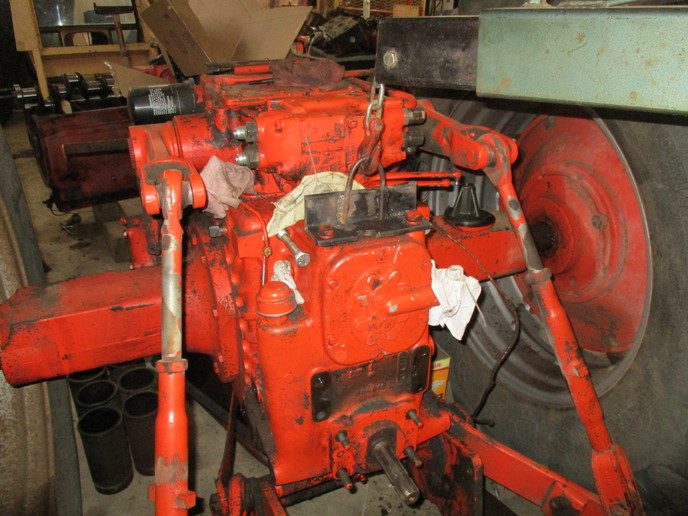
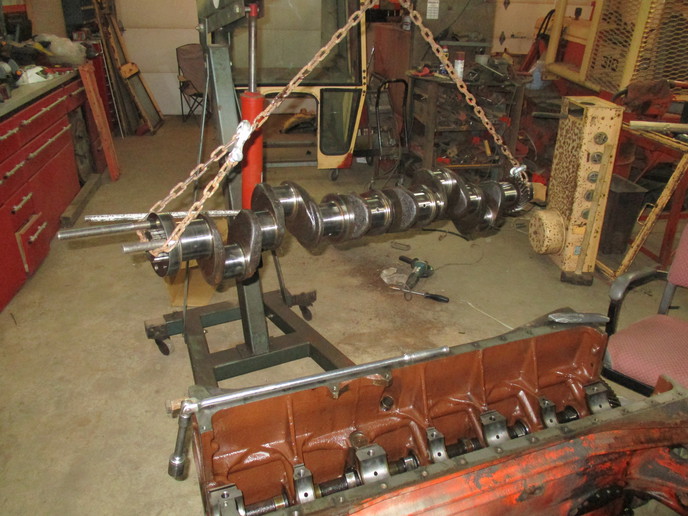
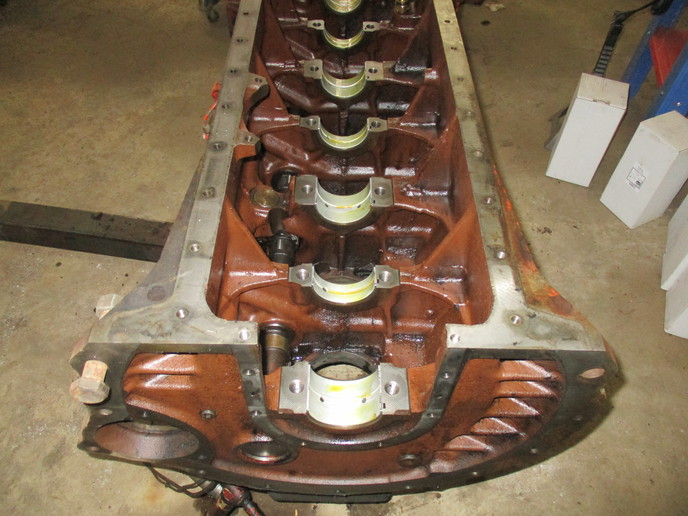
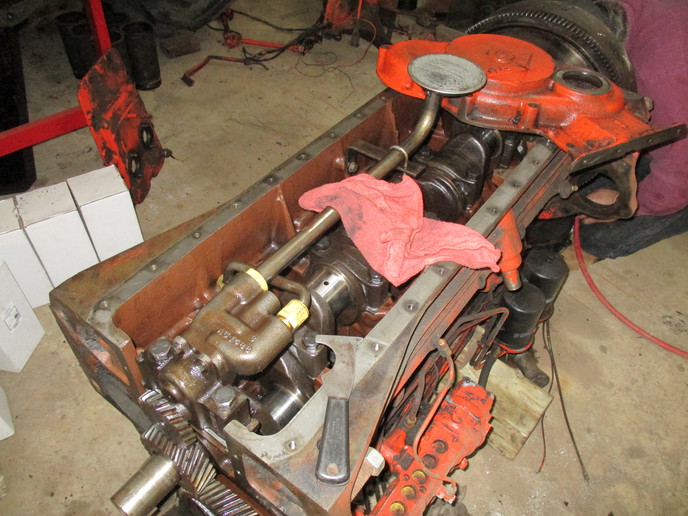
It was a good day to be in a nice warm shop. Ambient temp -7F wind chill -22. We made a lot of progress today. The 931 is sitting on all 4 wheels again tonight. We laid the crank back into the block with all new bearings, installed the flywheel with new clutch disc and new seals etc., and put the timing gear cover back on. After lunch we flipped the block back riteside up and reattached it to the tranny with the cherry picker. Didn't have a clutch allignment tool but a good eye to center the disc did the trick. The tranny cover is off so turning the tranny input shaft and PTO/hyd pump drive to align the splines was easy. Also made it easy to adjust clutch free pedal because we knew exactly where it disingaged.
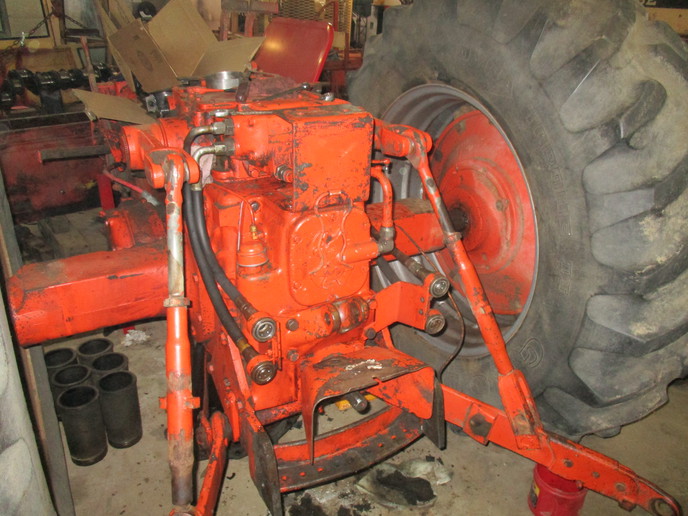
We then moved on to the task of bolting the front bolster and axel assy back to the front of the engine. When I separated the front axle/nose assy., from the engine, and the engine from the tranny, I welded up a bolt on stand from angle iron to support the tranny and engine when the frontend was removed.
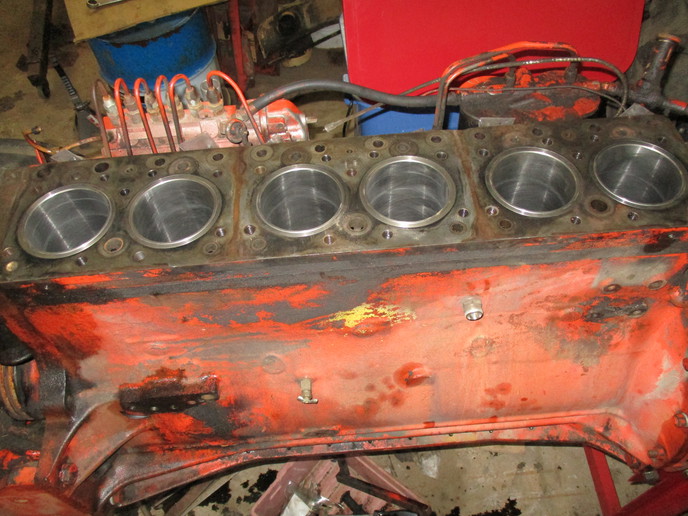
Once we had it back on 4 wheels, we we went back to the top end of the engine. It was dropping coolant into the pan when I bought it. When we got the heads off I had 3 cracked heads and had to find replacements. The replacement heads are currently in the machine shop, along with the rods which are getting new wrist pin bushings.
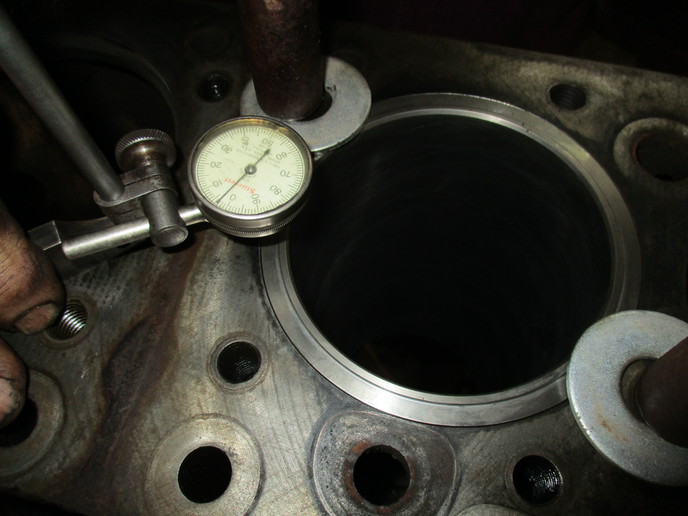
We dry fitted and clamped the new 1/8" overbore sleeves into the block today to check protrusion as we discovered that there was little to no protrusion on the old sleeves and there were signs of head gasket failure also. We found two of the new sleeves were setting low. Now I need to get some sleeve shims to get them up to .004" protrusion. Need a .005" shim on one sleeve and two .002" on another to make me happy.
I also rebuilt the PTO clutch assy and got the rear of the tractor all buttened up again.
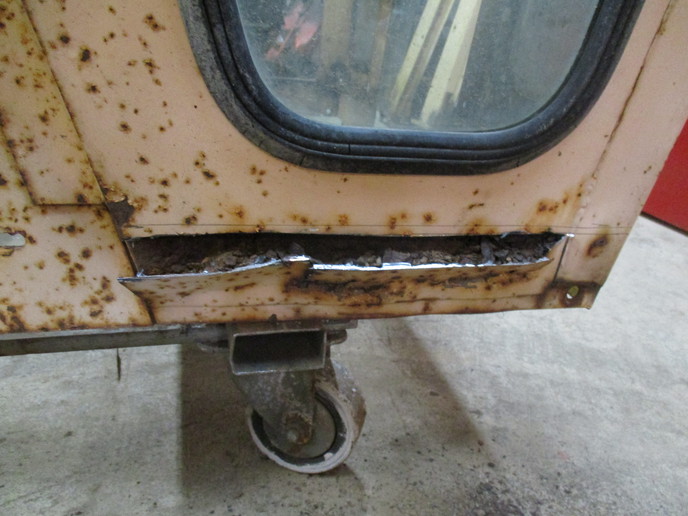
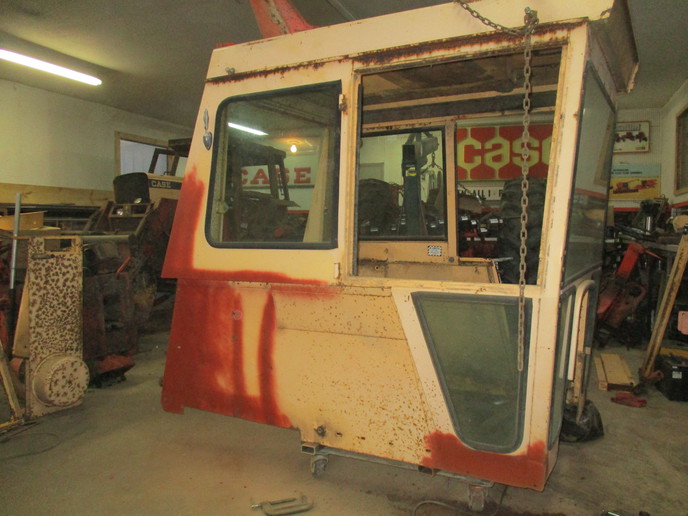
Been doing some more body work on the cab, cutting out rusted spots and welding in patches and had to straighten out the RH rear corner where a tire chain broke and it hooked the cab and bent it and the fender up. That all hammered back into place and doesn't look too bad. A little body filler and it will be hard to detect.
Speer Cushion Co. called Thursday and said they had the seat cores that I sent to them all reapolstered and were shipping them back, plus some padding material for the headliner and interior of the cab.
Still got a long ways to go. I think I will need to spend some time tomarrow morning to put all the tools back into my tool box , sweep the floors and regroup a bit. I'll post another update when more progress is made.
Loren

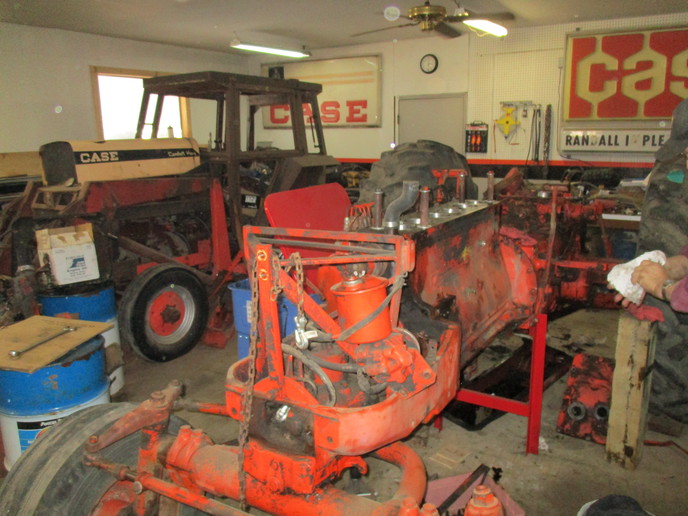
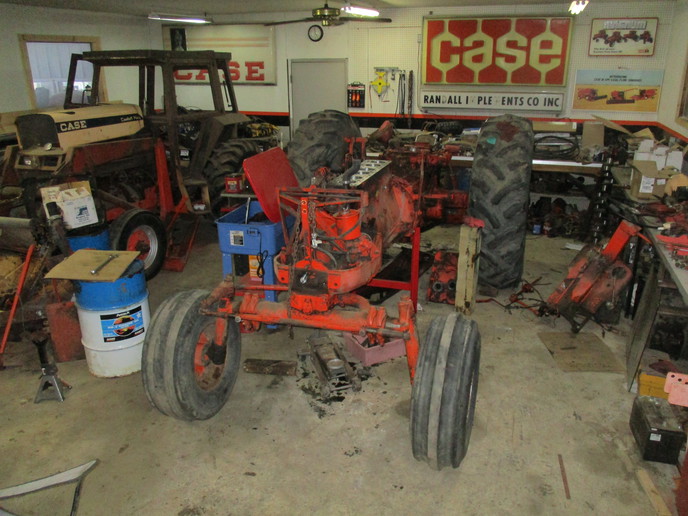
We then moved on to the task of bolting the front bolster and axel assy back to the front of the engine. When I separated the front axle/nose assy., from the engine, and the engine from the tranny, I welded up a bolt on stand from angle iron to support the tranny and engine when the frontend was removed.
Once we had it back on 4 wheels, we we went back to the top end of the engine. It was dropping coolant into the pan when I bought it. When we got the heads off I had 3 cracked heads and had to find replacements. The replacement heads are currently in the machine shop, along with the rods which are getting new wrist pin bushings.
We dry fitted and clamped the new 1/8" overbore sleeves into the block today to check protrusion as we discovered that there was little to no protrusion on the old sleeves and there were signs of head gasket failure also. We found two of the new sleeves were setting low. Now I need to get some sleeve shims to get them up to .004" protrusion. Need a .005" shim on one sleeve and two .002" on another to make me happy.
I also rebuilt the PTO clutch assy and got the rear of the tractor all buttened up again.
Been doing some more body work on the cab, cutting out rusted spots and welding in patches and had to straighten out the RH rear corner where a tire chain broke and it hooked the cab and bent it and the fender up. That all hammered back into place and doesn't look too bad. A little body filler and it will be hard to detect.
Speer Cushion Co. called Thursday and said they had the seat cores that I sent to them all reapolstered and were shipping them back, plus some padding material for the headliner and interior of the cab.
Still got a long ways to go. I think I will need to spend some time tomarrow morning to put all the tools back into my tool box , sweep the floors and regroup a bit. I'll post another update when more progress is made.
Loren