SVcummins

Well-known Member
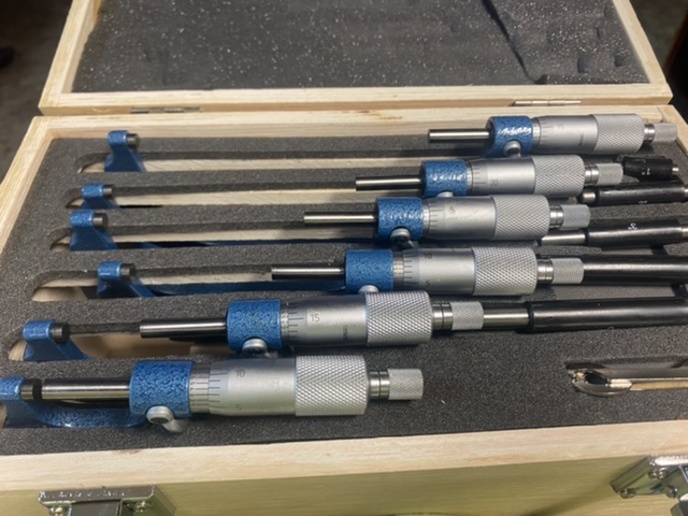
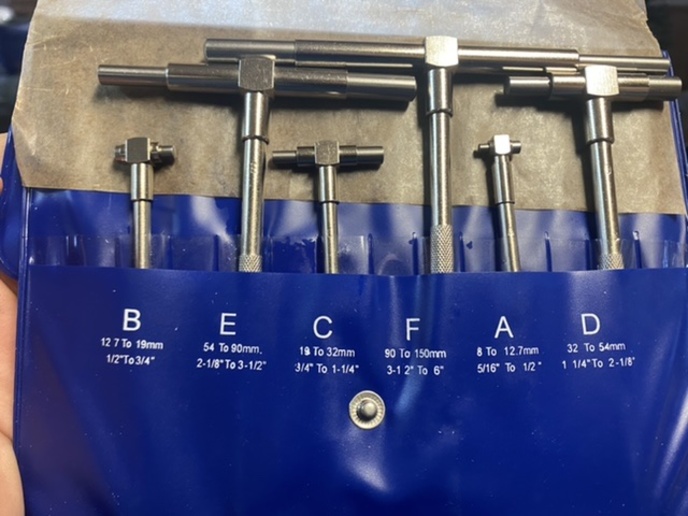
Got the micrometers today took a little while get the all zeroed in on the standards they were ice cold when I got them off the delivery truck and as I played With them throughout the day they kept changing as they got warmed to room temperature finally got them to hold a measurement on the standards . The 3 - 4 mic I had to take apart and lube up a little bit to get it going right . All in all I think they do fine for my little engine shop
cvphoto71382.jpg


cvphoto71383.jpg
 
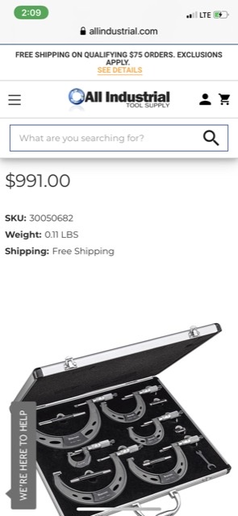
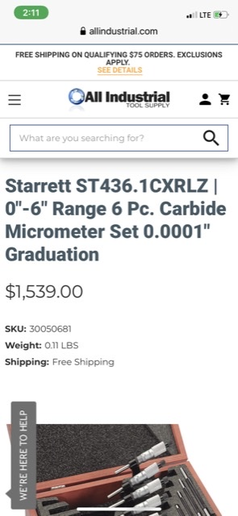
So starett has three 0 to 6 inch sets starting at-about 900 to 1600.00$ I doubt I’ll ever even get to touch a set like that in my lifetime
cvphoto71384.png


cvphoto71385.png
 
(quoted from post at 02:30:56 01/16/21) Got the micrometers today took a little while get the all zeroed in on the standards they were ice cold when I got them off the delivery truck and as I played With them throughout the day they kept changing as they got warmed to room temperature finally got them to hold a measurement on the standards . The 3 - 4 mic I had to take apart and lube up a little bit to get it going right . All in all I think they do fine for my little engine shop
<img src="https://www.yesterdaystractors.com/cvphotos/cvphoto71382.jpg">

<img src="https://www.yesterdaystractors.com/cvphotos/cvphoto71383.jpg">

That set of mics should do fine for you. I have seen mics similar to those take readings on the same part, by the same machinist, compared to his third party calibrated Starrett readings, and they were the same. Like a lot of tools if they were used day in and day out in a machine shop they may not hold calibration as well or last as long, but are fine for most folks needs.

The changes you saw as the mics as they warmed are normal. The calibration shop I use for tools that needed third party paperwork on jobs, like mics, wants them in their lab at least overnight so the mic temperature equalizes to the lab gear before they will calibrate one. You need to do similar as you use them. If you are going to use them in your engine shop the mics, standards, and the parts being measured need to be normalized to the same temperature, warm mic, warm standard, cold parts, equal false readings. Best to keep the mics, standards, and parts in the same place prior to and during use. And as noted in your other post be careful how you handle mics and standards, body temp can change the length of the standard and the mic readings.
 
Yep, those should be fine. The real test of mics is repeatability. If you can measure the same part after resetting the mics larger and smaller then returning to the measurement, it's doing well. That is a test of the threading accuracy.

example: measure a 1/2" or so item with the 0-1" mic, now close it to zero, open to 1 and remeasure. If that matches the first measurement, all is well.

Almost any mic can be set to measure correctly on the standards, but how they do when moved is the real test.
 
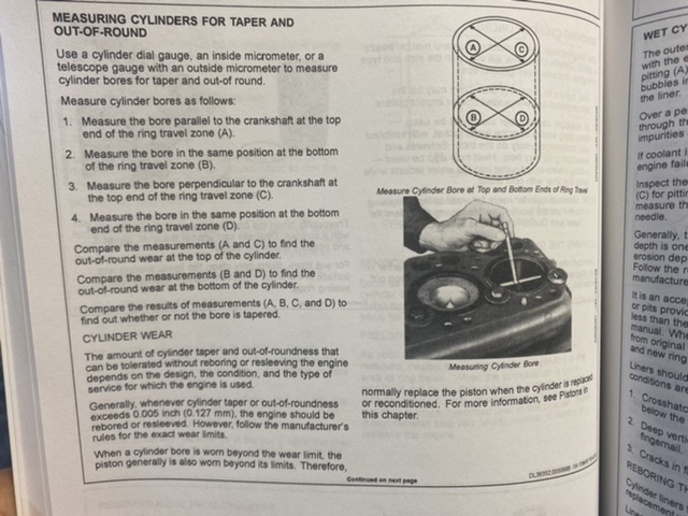
Hopefully you have an inexpensive bore gauge to go with the mics. I mic the piston and zero the gauge with the mic then check the bore. The gauge then reads directly in bore clearance. Using snap gauges or internal mics takes more skill.
 
Yes, people who have never fooled with precision measurements are always surprised when they find out how much the parts and the mics change with temps. There is always someone on the machinist forums claiming he is making parts to .0001 or better on his Deckel mill or Monarch 10EE lathe and the way for one to separate the real machinists from the wannabes is the BSers don't mention temps. When you get used to your mics and learn how to read tenths (.0001) you will find this out on your own.
 
I know I'm stepping on toes here, but here goes. If you want to measure piston/bore clearance precisely, use a long strip of feeler gauge in the bore perpendicular to the crank line bore. Put the feeler gauge in, then slide the piston in in the correct orientation. If it slides on in, go bigger with the feeler gauge until you have some drag when you pull the feeler gauge out. I've never been able to get proper clearance using mikes and bore gauges. A friend of mine who was a machine shop wizard for years told me about the feeler gauge technique. He once bored my 100CC Bultaco for me (a 2.050 bore) and gave me .002" clearance on the jug. I had to ride that thing easy a lot to get it broke in right and it lasted for years.
 
I agree in principle, but do not use it on engine designs with nore than .003 clearance. The gauge is flexible enough to that clearance to work. Wider clearnace (I have seen .010" on Triumph motorcycles) not so much. Jim
 
I’m up for any information anyone wants to give . Being a mechanic means learning different ways to do things that might be better or might not
 
I run em all the way out then all the way in then use different standards each time and see how they do
 
Jim.ME You are sure right about temperature change. I worked as a tool and die maker in a air conditioned room. The room was not air conditioned for me but for the dies I was working on. If I held the die in
my hand to long when I measured it. I would get a bad reading. The dies had to within .0005 of a inch.
 

We sell tractor parts! We have the parts you need to repair your tractor - the right parts. Our low prices and years of research make us your best choice when you need parts. Shop Online Today.

Back
Top