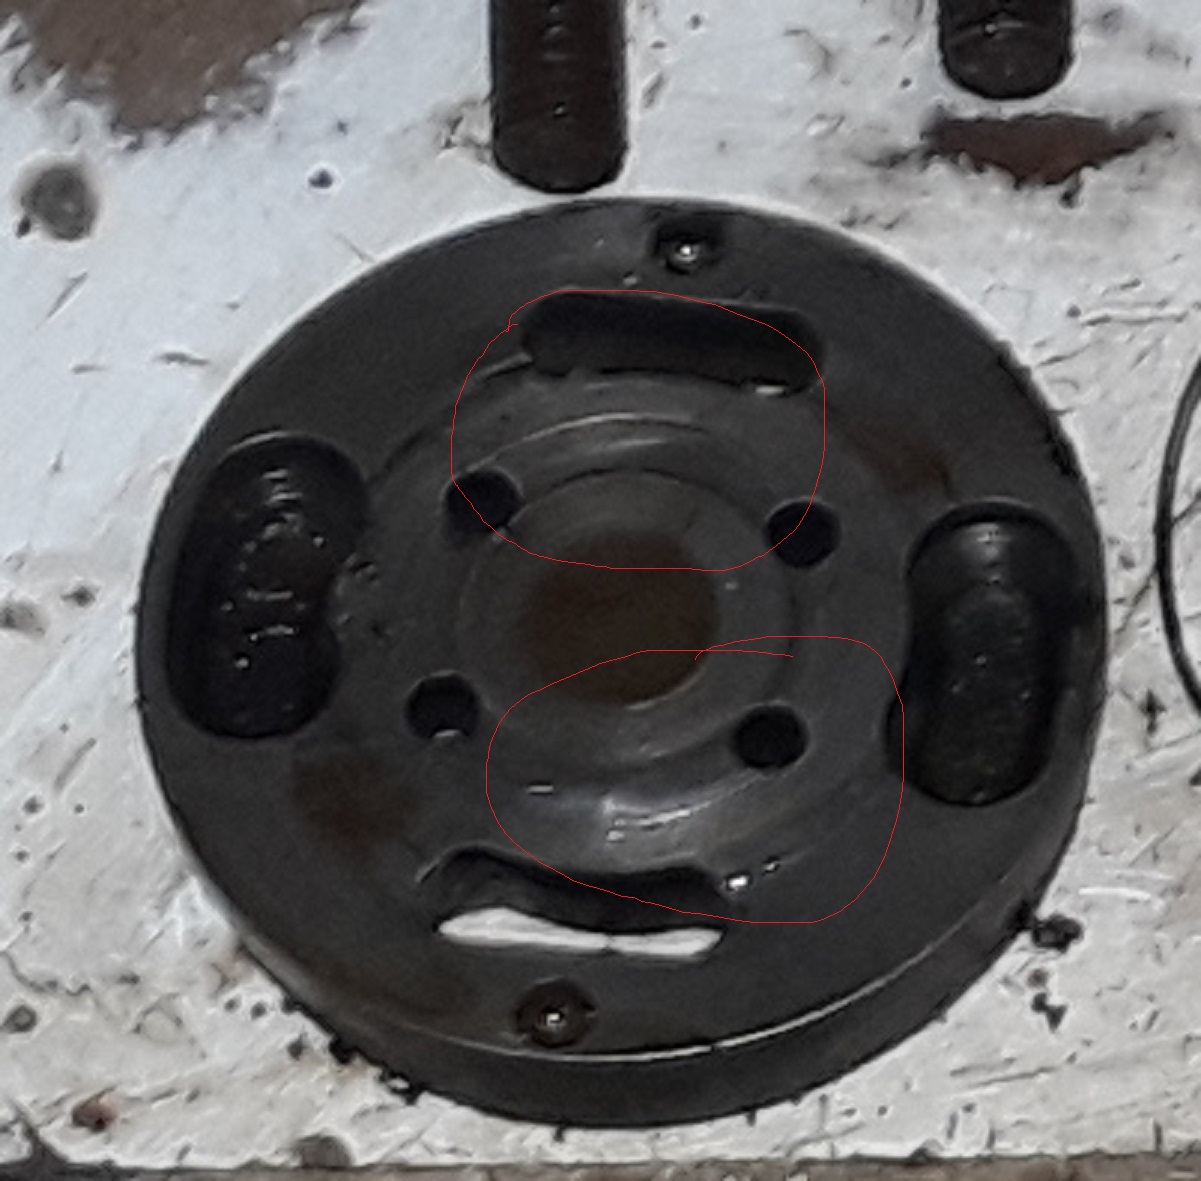
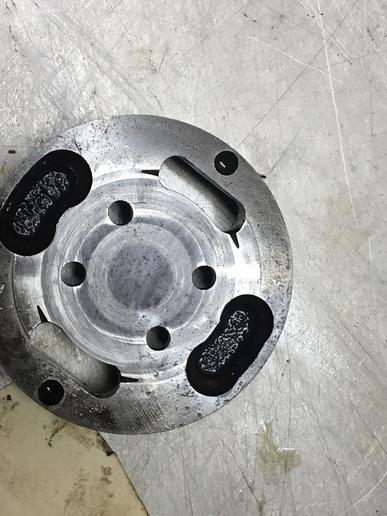
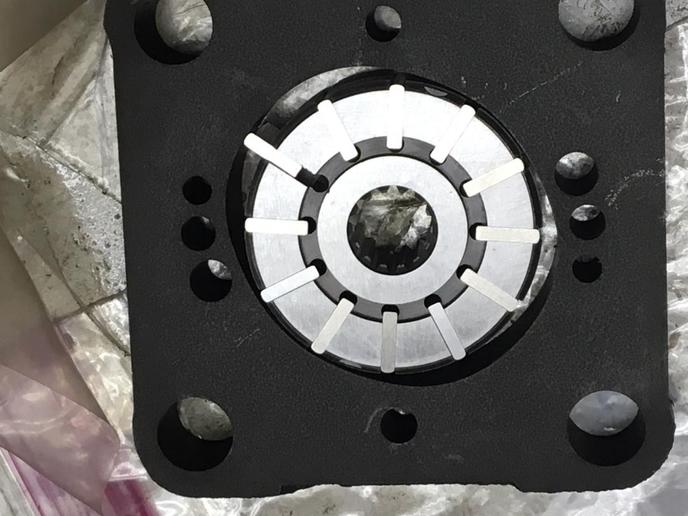
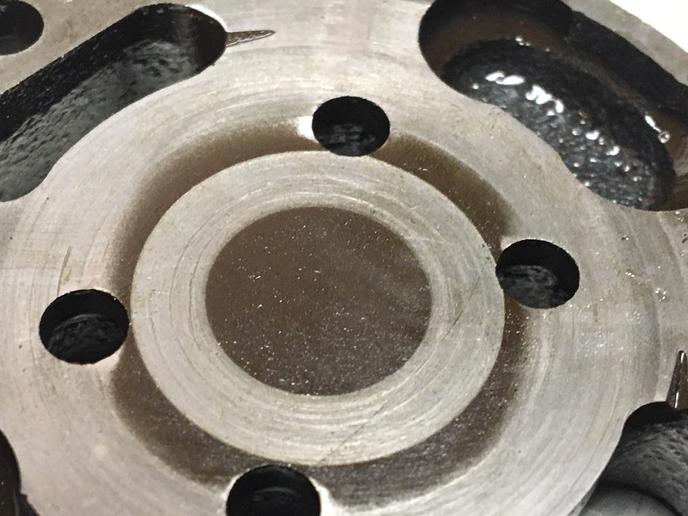
I am still looking for anyone who has tried the Vane type Hydraulic Pump Kit for Ford NAA that I have coming from Yesterday's Tractor. Any problems with changing it? Did it work good? I had previously posted the following under Ford instead of 8N,9N,2N:
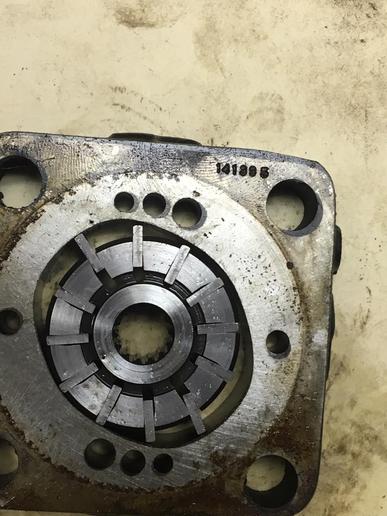
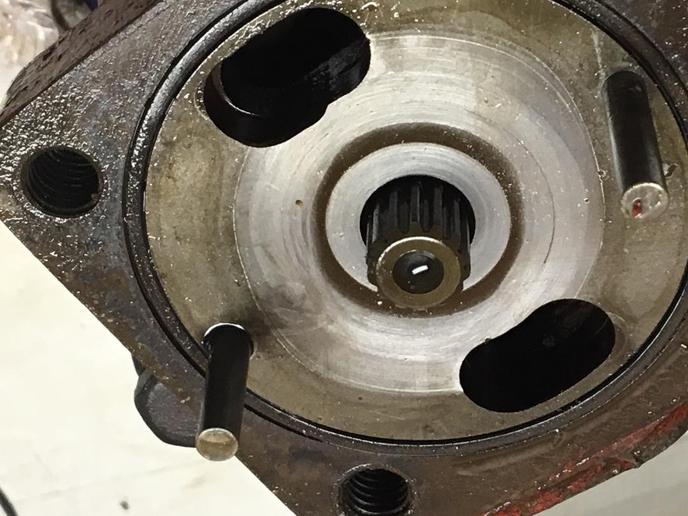
"I have done the testing to confirm that the pump is too wore out to produce enough pressure and just ordered the 5/8 Thick Vane Type Hydraulic Pump Kit from Yesterday's Tractor. Does anyone have experience with this kit? I see it comes with the body/rotor/vanes along with 2 O-rings. I am not sure how much I will need to take apart when I receive the kit and am wondering if I might be needing the seal and any gaskets that show up on the exploded parts view I found online. The pump does not leak now. I can still do some snow plowing (blade on front with cable going back to hydraulic arms) and do not want to take the pump apart until the kit arrives. I can plow for 15-20 minutes at a time before it stops lifting the bade. Any advice regarding installing the kit would be appreciated."
Thank you,
Steve