First, Thanks to Bob M and Gerry Powell for their wiring diagrams in the archives of this site. I used a little of both guys ideas in my conversion (I liked the idea of a 30 to 40 amp fuse so incorporated a 40 amp fusible link in my wiring and went with the diode instead of the idiot light).
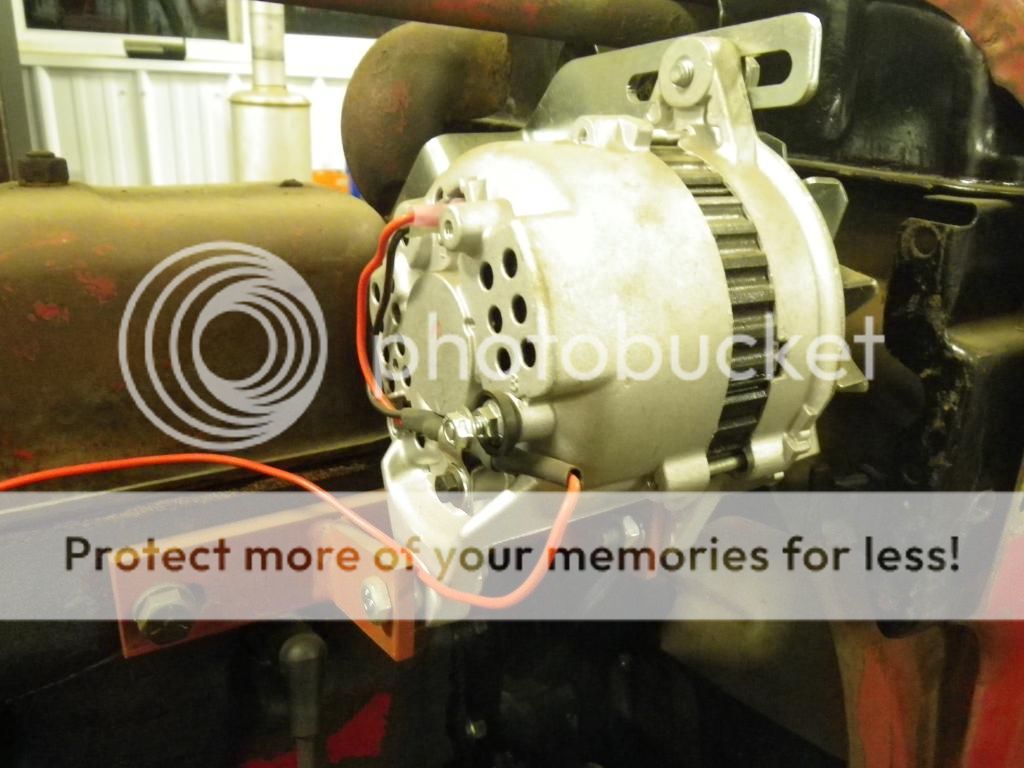
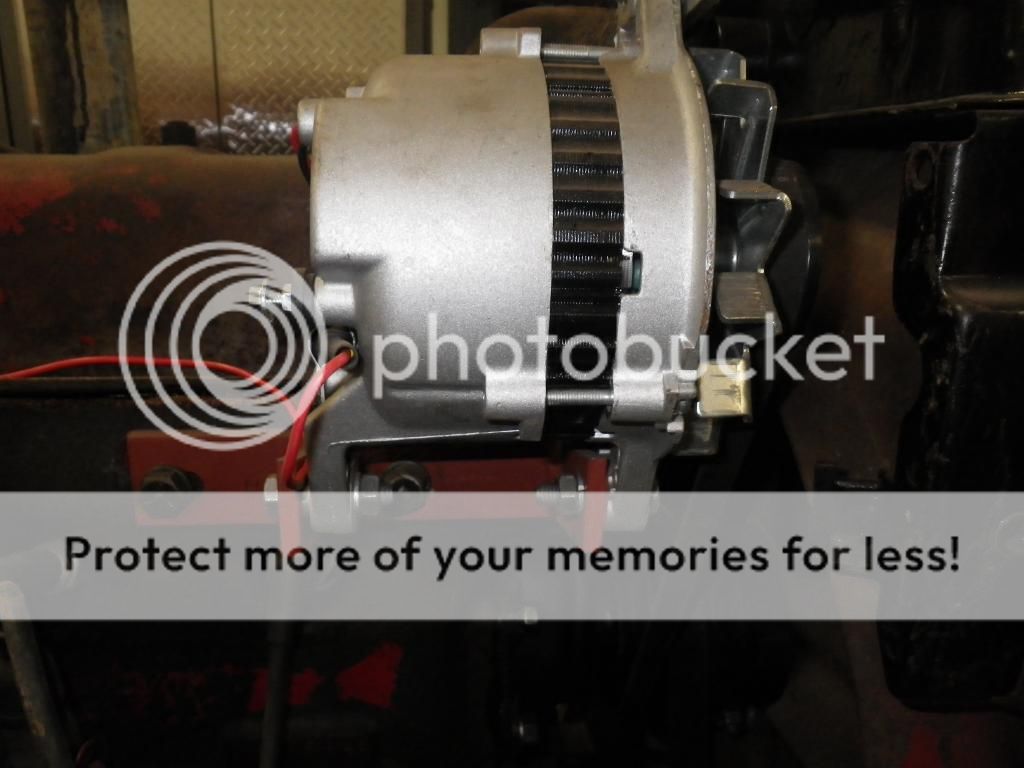
a) Purchased a little Hitachi Alternator 14231 (about $45 with online coupons/discounts from Advance Auto and lifetime warranty).
b) Removed the nut on the new alternator and stuck the lockwasher between the pulley sheaves. Reinstalled nut with blue locktite. This makes the pulley on the alternator the same width as the water pump pulley.
c) Flipped original generator bracket upside down and drilled a new 11/32" hole inboard roughly 3/8" from original generator holes.
d) I used 8MM threaded rod. (5/16" would be almost identical equivalent in American size but a whisker smaller. 3/8 rod could be used also, but you will have to drill alternator as alternator only has 8mm holes). I double nutted every location for secure locking.
e) My original belt was shot. Carefully selected a 30.5" belt as a replacement. Tight fit, but that is what I wanted for maximum adjustability as belt stretches over time. Even then there will not be lot of adjustment on an h as it is tight under the hood.
f) Rebent and slotted the original top generator bracket for some adjustment.
g) Chrysler style resistor #RU19 also from Advance Auto installed for ignition coil (about $4).
h) All terminal ends were were crimped, then soldered, and finally heat shrink wrapped.
i) Fast easy starts, a cheaper yet more durable 12v battery that will last more than the 2-3 years that I usually get from 6 volt, not to mention better lights - priceless.....and no regrets
j) Next up my Farmall M (It will get an identical alternator but it should be much easier since there is so much more room under the hood on an M)


