1030 engine woes

jon f mn

Well-known Member
I posted this on the case forum too, but thought I would share here to see if anyone has any ideas.

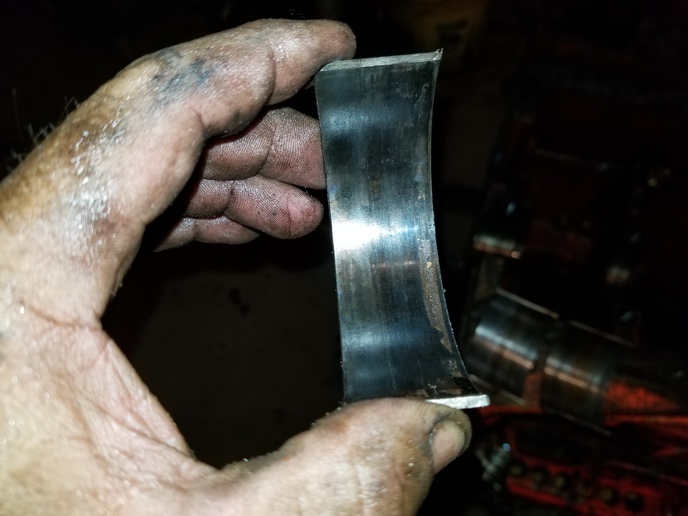
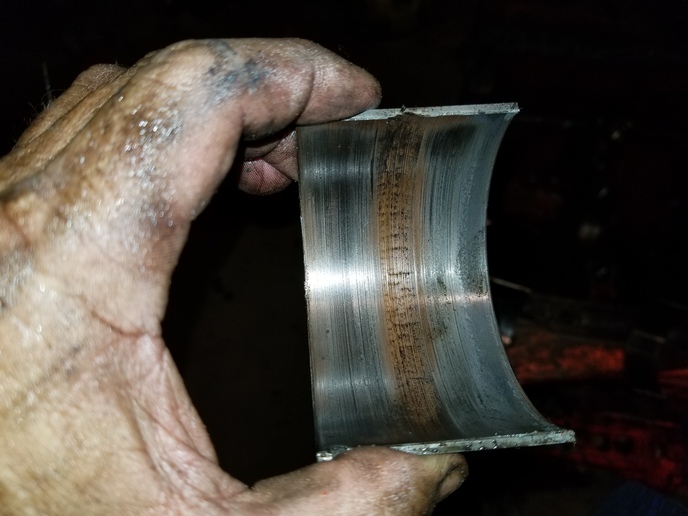
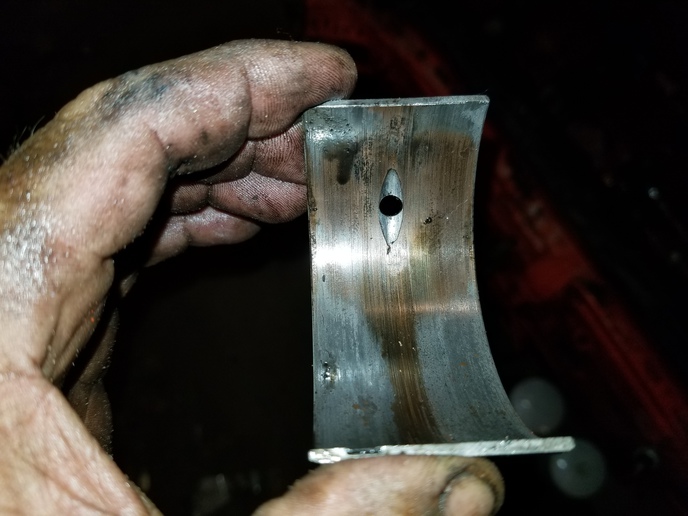
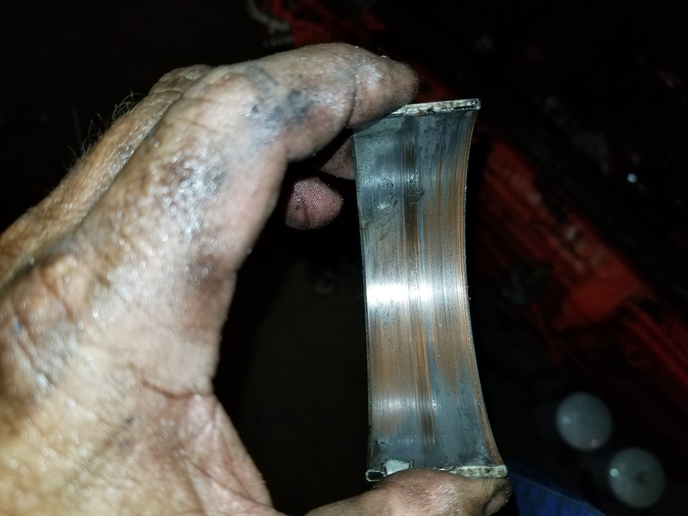
Finally got me 1030 motor apart and it is worse than I thought. The turned bearing was the front one, but the rear one was hot and failing as well. And all the rear bearings show excessive wear. I blew out all the oil gallies and found no obstructions. All the main bearings were in correctly with the oil holes ligned up corectly. I had 40 lbs of pressure on a manual gage and the oil light works and was not on til the end and then only at idle. So I'm not seeing how lack of oil was the problem, but that is what it looks like. The engine has about 8 hours since the overhaul. Any ideas?

Main bearing number is hmb2810
Rod bearing number is hmb2105
a172202.jpg

a172203.jpg

a172204.jpg

a172205.jpg
 
I did not plastigage it, but it was loose. I turned it over after torqueing each bearing and it never got close to tight. The crank was standard and not turned, but within specs.
 
Did you have the bearing end of the rods reconditioned or checked? I just wonder if something wasn't off a bit there. I had that issue with an Oliver 66 basket case. The rods had been poorly stamped. They had used stamped dots to indicate which number it was. I had 2 rod caps with 3 dots stamped into them. One had 2 clear dots, and a weak 3rd for. The other had 2 clear dots and a 3rd, but it was was along the edge of a casting line and very faint. Guessed which one was correct, and apparently guessed wrong. It turned over well and ran good, good oil pressure, but noticed a build up of metal on the dipstick. Pulled it back down and noticed the number 2 and 3 bearings looking about like yours. Got new rod bearings, pulled rods, and installed the new bearings into the rods and closely inspected. When I swapped the caps that weren't marked very clearly, I noticed they fit just slightly better than it did with the other cap. I put it back together, and it looked good when plastigauged. I didn't do it the first time, for the first time ever, and remembered why I do it every time. Been running real good since then. Maybe that's not your issue, but it was mine at one time.
 
Check for open internal oil ports. I had a JD 5020 spin the number one main bearing twice, with low hours of use. The ventilator pump was blocked off. What I did not realize was that they had also removed the drive gear and shaft form the housing. This opened an oil port that was in the vertical galley with the number one main bearing. The rear of the motor had good oil pressure but the front oil galley would loose pressure when the oil warmed up. Plugged the port and the tractor is still running 30 year later.

Your losing oil flow/pressure at the crankshaft. I am assuming the engine oil is not breaking down. So for some reason your losing the hydrodynamic bearing on the crankshaft and mains. So with the gauge showing pressure your not getting the same pressure to the lower end of the motor or you have a leak in the lower end.
 
#2 shows dirt coming through the oil hole. #1 shows heat????? 3 &4 show an alignment problem, or dirt behind the shell. . My guess is there was some dirt somewhere that started it. They all show dirt now but that may have come from the failure. That engine needs to be stripped down to the bare block to get it cleaned out.
 
Some may think this is engine assembly vodo but on rod bearings I use what I call the "hammer tap check" to check for fit, which mostly applies to the bearing being to tight. The first mechanics I worked for were the sons of a crotchety old mechanic. He was known in our area for being rough on the edges, but also being very knowledgeable. So I think part of this technique is from installing and fitting babbit bearings. On modern day insert bearings I always plastigauge one then reassemble with oil (usually 30w but white lithium is okay as well) and torque. Then get out a small ball peen hammer 10oz or less. I then tap lightly on the rod cap at a slight angle to move it the one side of the crank journal. Then repeat at the opposite angle as to move it to the opposite side within the side play. It should move freely side to side; after a few tries you will see what I mean. Then I proceed on installing the rest of the rod bearings with the tap check after torqueing. I have found several cases when the tap test felt to tight and it was confirmed with plastigauge. Of course then either the bearings are wrong or the rod/crank has come back out to be corrected. On the mains outside of plastigauging them all or relying on the free turn test that is about all you can do. Of course the micrometer measurements are a must. If you don't find anything with the oil system I would say that the bearings must have been to tight but not tight enough to keep it from turning.
 
I forgot to say during the tapping I'm holding some part of the rod between the thumb and forefinger of my opposite hand to get an idea of the feel of the movement. Like in the case of the smaller automotive rods I'm holding it on the outter sides of where the bolts pass through.
 

We sell tractor parts! We have the parts you need to repair your tractor - the right parts. Our low prices and years of research make us your best choice when you need parts. Shop Online Today.

Back
Top