I'm the one with the 8N that has a 2N top cover on it so it has no position / draft control lever on it. It's always in position control mode.
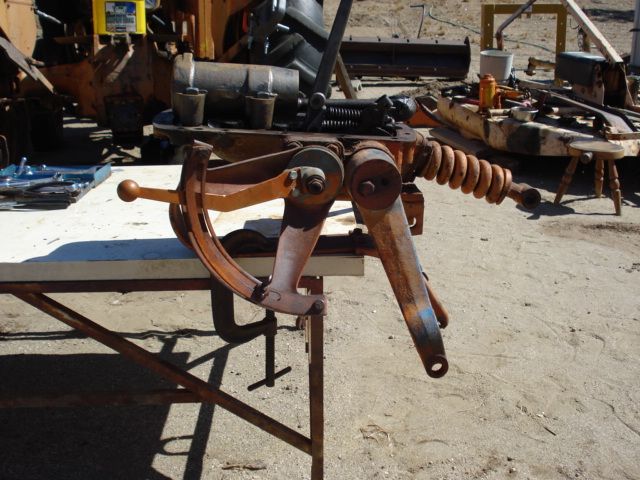
Anyway it quit lifting on me. When I pulled the top cover, I found some of the 8N parts missing of course. What I found was a bent control rod. I think the main problem was that the dowel pin was slipping off the side of the cam. Maybe due to worn parts? I'm thinking maybe that's how the control rod got bent when the pin slipped off the side of the cam and jammed things up.
Anyway, I put a longer 1" dowel pin in there that fit better over the cam. I also put some shims on the shaft with washer #351502-S. One can't find any washers that size since it's 5/8" ID and 1" OD.
What I found was machine shims in various thicknesses from Fastenal. I put two of the .050 thick shims in with that washer and it tightened things up nicely. I purchased a nice straight control rod also. Anyway I just finished buttoning it all up and my position control is functioning nicely.
I haven't tried to straighten that bent control rod yet.
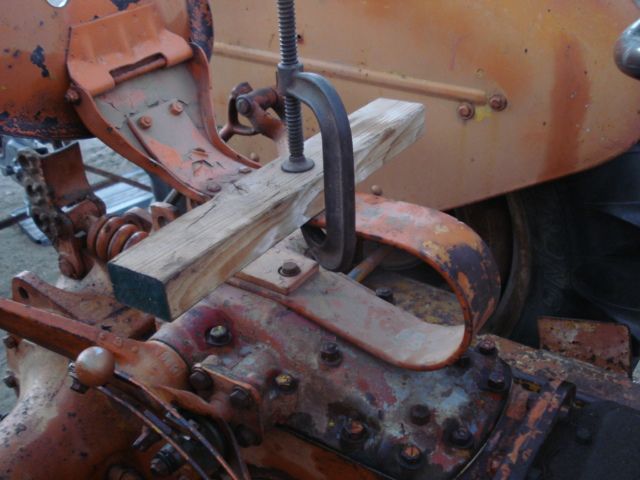
Next, I'll be tackling my new MF202 workbull. It has a malfunctioning 3 point lift also.
Anyway it quit lifting on me. When I pulled the top cover, I found some of the 8N parts missing of course. What I found was a bent control rod. I think the main problem was that the dowel pin was slipping off the side of the cam. Maybe due to worn parts? I'm thinking maybe that's how the control rod got bent when the pin slipped off the side of the cam and jammed things up.
Anyway, I put a longer 1" dowel pin in there that fit better over the cam. I also put some shims on the shaft with washer #351502-S. One can't find any washers that size since it's 5/8" ID and 1" OD.
What I found was machine shims in various thicknesses from Fastenal. I put two of the .050 thick shims in with that washer and it tightened things up nicely. I purchased a nice straight control rod also. Anyway I just finished buttoning it all up and my position control is functioning nicely.
I haven't tried to straighten that bent control rod yet.
Next, I'll be tackling my new MF202 workbull. It has a malfunctioning 3 point lift also.