I am installing a pair of stabilizer bars on
1949 8N hoping to use my carryall to carry my
daughter and granddaughter safely in the
Lowry's Christmas Parade. The carryall swings
enough now to give the girls and Granddad a
fright!
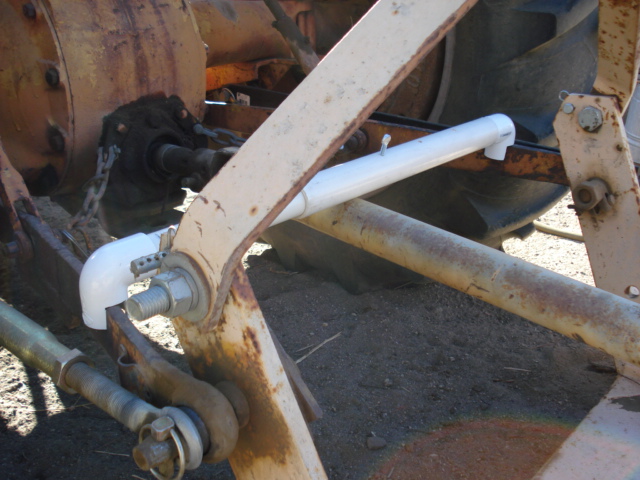
The installation instructions, found somewhere
on this forum or a link from the forum, suggest
that fender bolts will need to be replaced --
longer. However, looking at the photos you
will see that the current bolts are double-
nutted and leaving one off seems to give plenty
of room. Photo with bracket loosely attached
is left fender bolt; photo without bracket is
right fender bolt showing two nuts.
Do I need longer bolt to allow double nuts?
Also, when the nuts were removed, I found a
flat washer next to the axle and then a lock
washer. The casting on the axle has an
indentation that the flat washer seems to fit
in. Should I reuse the flat washer here (like
in the loosely attached bracket photo), or
should it be next to the lock washer, or should
it be removed entirely?
1949 8N hoping to use my carryall to carry my
daughter and granddaughter safely in the
Lowry's Christmas Parade. The carryall swings
enough now to give the girls and Granddad a
fright!
The installation instructions, found somewhere
on this forum or a link from the forum, suggest
that fender bolts will need to be replaced --
longer. However, looking at the photos you
will see that the current bolts are double-
nutted and leaving one off seems to give plenty
of room. Photo with bracket loosely attached
is left fender bolt; photo without bracket is
right fender bolt showing two nuts.
Do I need longer bolt to allow double nuts?
Also, when the nuts were removed, I found a
flat washer next to the axle and then a lock
washer. The casting on the axle has an
indentation that the flat washer seems to fit
in. Should I reuse the flat washer here (like
in the loosely attached bracket photo), or
should it be next to the lock washer, or should
it be removed entirely?