" I think it is a 9n not sure of year"
Couldn't find John Smith's website? Here is the address again:
http://www.oldfordtractors.com/idhistory.htm
" on back of distributor is 9n12131 "
That would be the part number for the distributor base.
" on engine block is star 9n 73417 star "
See tip # 71. That might be the serial number; if it is, you have a 1941 9N.
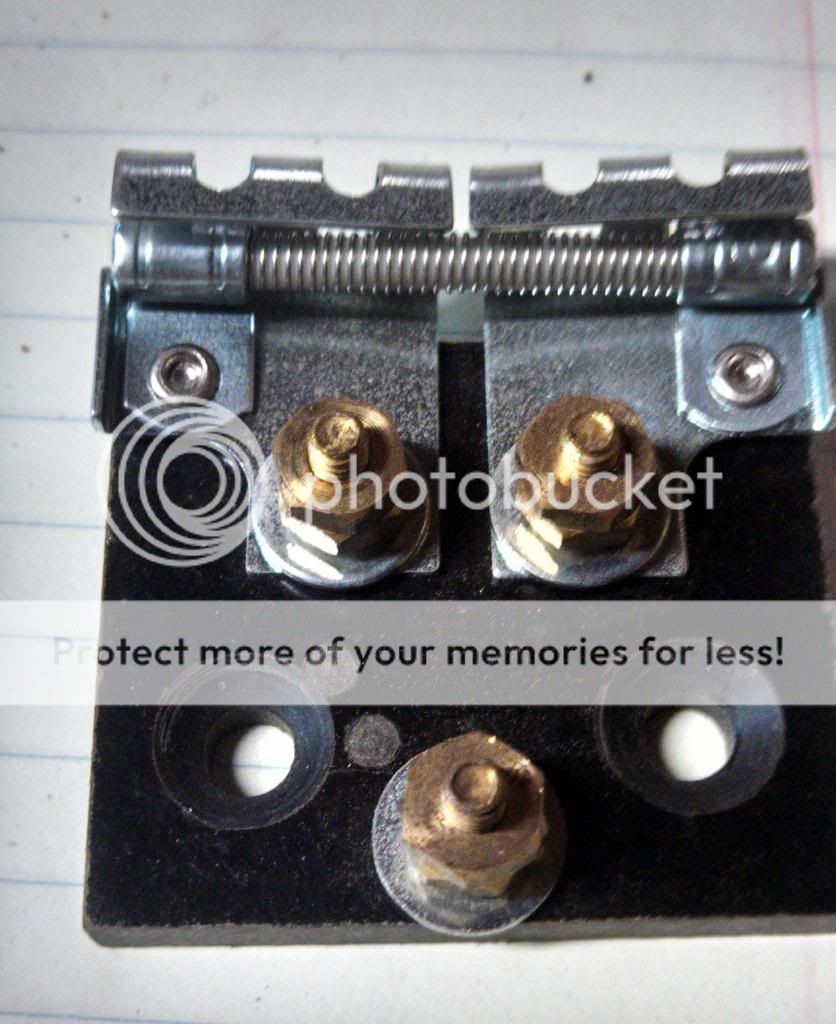
" ballast resistor is 3 inches, white with a post on each end,"
That's not a ballast resistor.
It's a fixed resistor of some unknown value that is probably part of your problem. But, the tractor will run w/ it, so fix that later. (see tip # 30)
The first thing you need to do is put the battery on a charger. (see tip # 60)
You need a strong battery to:
1. Spin the starter
2. Engage the bendix
3. Provide voltage to the coil.
As the battery gets weaker, the first thing to fail is your spark.
The more current you use to spin the starter, the less you have for the ignition.
Assuming that the bushings & advance weights are ok (*see below), & that you have correct voltage to the coil (battery voltage with the points open and about half that with the points closed), the most common electrical failure (no spark, weak spark) points on the front mount are:
1. The insulator under the brass concave head screw & where the copper strip attaches. (it’s fiber & will wear out; poke & prod w/ your meter leads to make sure it still works) If you need to replace the insulator, use a .250 x 3/8 nylon square nylon anchor nut available at most big box home stores
2. The pigtail at the bottom of the coil not making contact w/ the concave head brass screw inside the distributor. (With the coil on, the pigtail must firmly contact the brass screw. No contact = no spark
3. The copper strip is broken or grounded to the plate. (look very carefully for cracks & breaks).
4. The condenser wire grounding to the plate or side of the distributor.
5. The tab on the bottom of the coil not making contact w/ the brass button on the cap. (With the cap on, the tab must firmly contact the brass button. No contact = no spark.)
6. Incorrect positioning of the spring clip on the plate causing the pigtail to ground. (the open part of the clip goes between 7 & 9 o’clock on the plate. That puts the straight part of the clip opposite of the timing screw at 3 o’clock)
7. Incorrect seating of the coil on the distributor due to a loose bail or no gasket.(the coil must not move at all; if it does, replace the gasket or bail. Or stick some cardboard under the bail).
8. Water/moisture inside the cap due to gasket failure or the absence of a gasket. (the cap AND coil have gaskets)
9. Dirty/corroded/burned/incorrectly gapped or misaligned points. I use only Wells, Blue Streak or Echlin brand points (* *see below).
10. Burned rotor, cracked/carbon tracked cap.
After you find the problem & re-check the point gap, do a continuity check before you put the distributor back on the tractor.
With the distributor still off the tractor, follow these steps:
1. Coil off, cap off, points open. One probe on the brass screw & the other on both sides of the open points. On the side closest to the cam, you should have continuity. Not on the other side! If you do, you will also have continuity everywhere because the points are grounded.
2. Coil off, cap off, points open. One probe on the brass screw & the other anywhere on the body of the distributor. You should have no continuity! Now, rotate the tang on the distributor....as the points open & close, you have continuity (closed) and lose it when they open.
3. Put the coil on the distributor, cap off, points open. One probe on the lead on the top of the coil, the other on the cam side of the open points. You should have continuity!
4. Coil on, cap off, points open. One probe on the lead on the top of the coil, the other anywhere on the body of the distributor. You should have no continuity!
At this point, I just put the distributor, coil & cap all back on the tractor as a unit. The reason I do this is because it is real easy to get the cap or coil misaligned trying to put it back together, one piece at a time. The result is something gets broken or you get a ‘no spark’ problem.
It's possible to put it back on wrong & break it. Look at the slot on the end of the cam shaft. Whatever angle it happens to be, turn the distributor tang to match it. Make sure you can tell the wide side from the narrow side on both the cam & distributor! (close counts). Place the distributor on the front of the engine, gently push it in place & slowly turn the distributor body until you feel the tang slip into the slot. Rotate the distributor body until the bolt holes line up. Hand tighten the two bolts until the distributor body is flush with the timing gear cover.
Post back w/ results or more questions.
And, after the tractor is running, replace that ceramic resistor w/ the OEM ballast resistor & a true 12 volt coil.
* Unscrew the plate hold down screw & remove the C clip to get the plate out. Remove the shaft & weights. The weights should freely move.
* *NAPA part numbers:
• Points: FD-6769X
• Condenser: FD-71
• Rotor: FD-104
• Cap: FD-126
75 Tips