Armand-
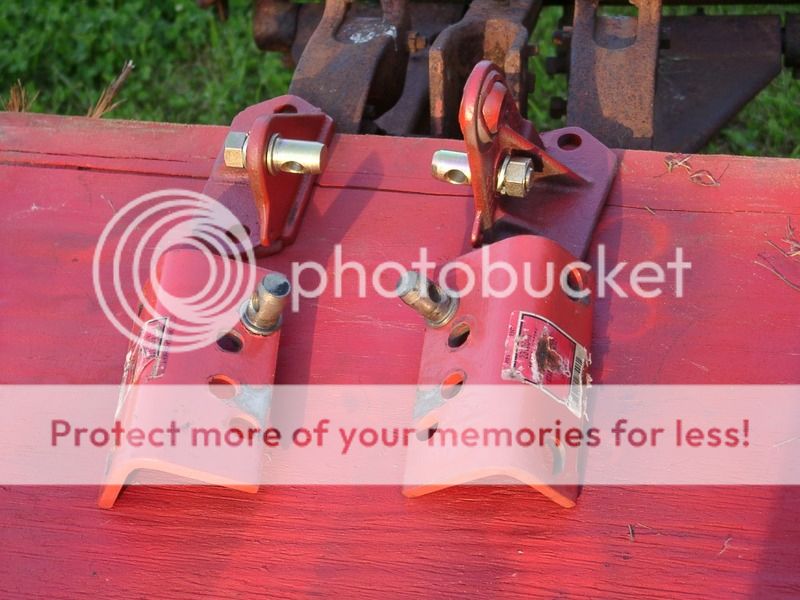
First, the picture wellmax99 shows has the STAY BARS, not the STABILIZER BARS. They are two different animals and are used for different set ups. The STAY bars do exactly that -they keep the 3-point set at a certain height, thus they STAY in place and do not allow the 3-point to be lifted providing you have the safety chain quadrant lift lock-out connected. The STAY bars and SAFETY CHAIN LOCKOUT BADGE come with a new tractor in a shipping parts kit. STABILIZER BARS and brackets are dealer supplied optional equipment. They are meant to keep the implement stabilized from back and forth, left to right, and side to side movement. You can raise and lower the implement with the 3-point finger tip control lift arm as desired. STABILIZER BARS are also referred to as SWAY bars so you can see how the confusion arises but know the difference. Always use the lower rocker connection holes. The 3-hole rocker released later was meant to use a cultivator or similar implement in light soil using the top or middle hole.
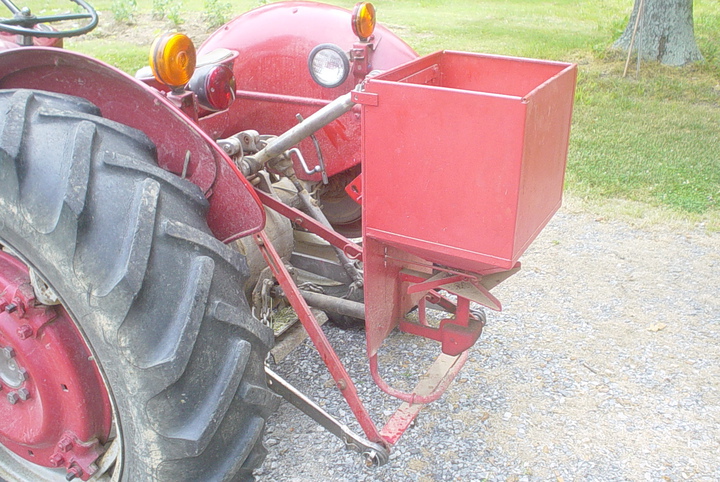
Here's how to connect stabilizer bars to your tractor...
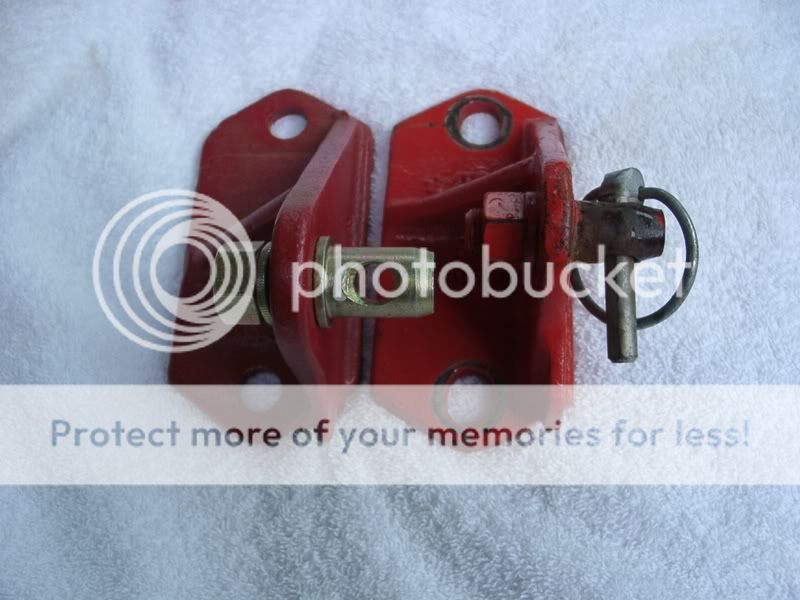
If everything is set up correctly, there is no need to monkey around re-adjusting the fender brackets each time you change implements. Once they are set, they are good to go for any implement needing the stabilizer bars. Period. First, there are two sizes of the original fender brackets. Note the pin location height on each. Starting with the FORD 600 Model, the distance from the lift pins to the fender bosses was slightly higher thus the bracket pin location changed- note picture. Next, using the original or aftermarket/angle iron style doesn't matter. You just need to make sure they are mounted correctly. The pins face in -closest to the diffy case. You will also need to buy or secure four new, 5/8-18 x 6-1/2" hex head bolts, 6-1/4 will work if available, lockwashers, and hex nuts. NOTE: LEFT and RIGHT on a tractor always refers to the position as you sit in the operator?s seat.
Taking your right hand, make a 'gun' with you thumb and index finger. Now rotate your hand over so your thumb is pointing to the left and your index finger is pointing down. This is how the bracket bolts to your LEFT fender. The thumbnail area has the 2 fender bolt mounting holes. Your downward pointing index finger has the link pin hole or holes. The bracket link pin and tractor lift pin now should align with each other. To do this take both of your index fingers, point them at each other almost touching. This is how the pins locate correctly. With original FORD or FERGUSON stabilizer bar brackets, the link pins bolt to the one and only one set of holes and are automatically aligned. If you are using the newer aftermarket angle iron brackets, these come with a variety of hole positions securely. You must determine which holes are the correct ones and bolt the link pins to those only and leave them. Now, once you have positioning correct, snug down new longer fender bolts, but do not tighten completely. Repeat procedure for the right side using opposite symmetry.
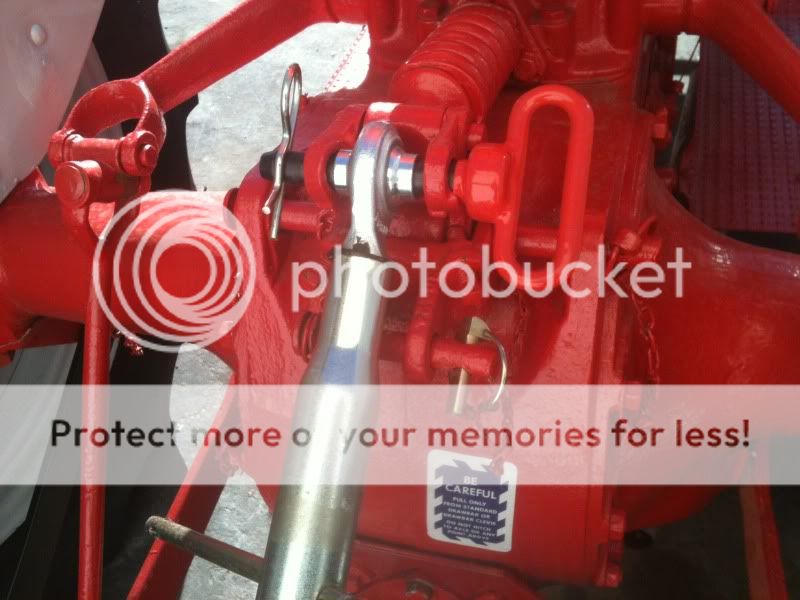
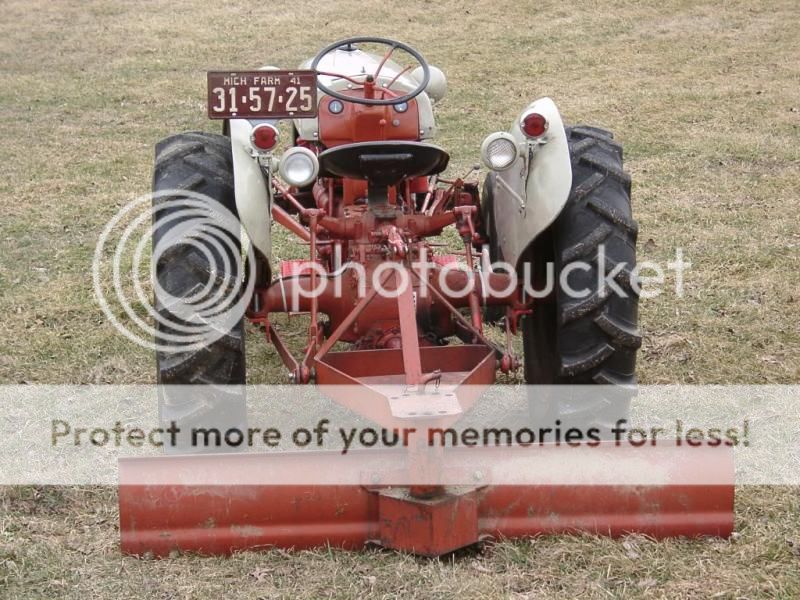
The next step is to get a back blade, bush hog, or rear finish mower that you will use the bars with and hitch to the tractor lift arms but do not pin. Attach a top link using the lowest most linch pin position holes. Attach the LEFT stabilizer bar to the LEFT side implement pin and latch with a linch pin. Attach the RIGHT side bar to the right implement pin and latch as well with a linch pin. Your brackets are not fastened down yet so you will have some play in them to move and push back and forth to help properly align. Once implement is attached with bars in place, and fender bolts still loosely bolted down, proceed to final adjustment.
Final Adjustment: At this phase you will proceed with extreme caution working slowly so you do not bend or break anything. Be sure your Finger Control lift is set at the bottom of the stroke -all the way DOWN. Start tractor. Engage the PTO 3-point lift. SLOWLY begin to raise the lift observing that the bars are not binding or that anything sounds or looks like it is under stress. There may be some 'positioning' of the fenders as they self adjust themselves to the bars. If something doesn't look or sound right, drop the lift arm right away and determine what it is that is out of alignment. You will do a series of up and down lifts to ensure that the positioning is set correctly before final fender bolt fastening procedure. Correct positioning is when the lift can be raised and lowered without any pinching, bending, binding, cracking, creaking, breaking or other failure modes. When you have a warm & fuzzy feeling about the lifting UP and DOWN safely, now you can secure the fender bolts down tightly. Always repeat the lift sequence a few times once the fender bolts are tight. That's it -the bars are set to your lift. There is no way they need to be changed. Once this procedure is successful, you won't need to muck with the setting again. You should be able to go from a mower to a back blade to a disc harrow without any worry about touching the bar settings. You might want to do an occasional routine PM check to verify they didn't move. Jamming a snow bank full throttle can cause one side or the other to move.
This method is a proven system to set stabilizer bars. I have seen bent lift arms, blown hydraulic pumps, and bent and twisted bars because the stabilizer bars, mostly the brackets, were installed wrong. One reason is the new, aftermarket style brackets have multiple pin location holes to use with different tractors, and if you don't have the pins in the right hole for your tractor, you will end up with a disaster. Most all issues with stabilizer bars is that they are not set up correctly. Either the pins are in wrong position or the brackets are facing the wrong direction.
Tim *PloughNman* Daley(MI)