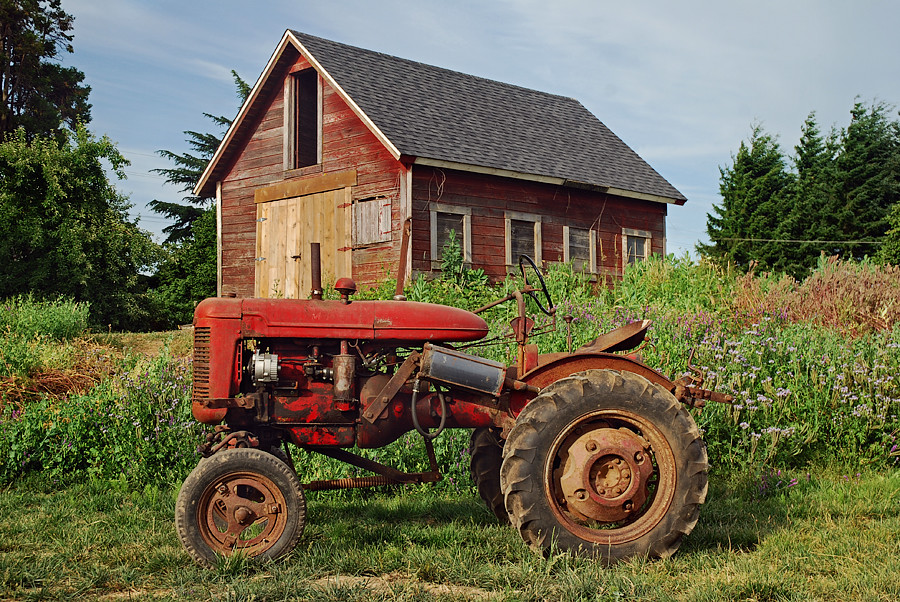
Hello, all! I'm the proud user and maintainer of a '44 model A on a working vegetable farm. For a long-winded story, read on--for getting to the point, skip on to the last paragraph.
I've named the tractor Irma, after Irma Harding. She came factory with the lift-all system and the one-bottom plow. Some parts--mounting brackets, pulleys, front and rear rock shafts, handles, etc. for GL-183 toolbars came with it, too, but not enough to actually use them, so the tractor was demoted to light towing for the first years that we used it.
Because the lift-all components were in the way of maintaining the machine, I removed and stashed them away. The manifold and exhaust valve housing were hopelessly corroded and eventually broke when I attempted to attach a new muffler.
For a few seasons, I mounted a wide shovel-like shank to the front-end mounts for the one-bottom blow--as seen in above photo--and used it to furrow rows for planting potatoes into.
A few months ago, our hydraulic-equipped Allis Chalmers G, which we rely on heavily, broke down in the middle of the season! Meanwhile, a pile of Farmall A parts, including manual lift levers, and GL-183 and GL-184 toolbars popped up on Craigslist. Excited, I snagged them all. I had seen images and videos of people seeming to adequately use these tools without the lift cylinder, using the depth adjustment levers to lift and lower the gang beams just enough.
So I mounted everything we had to Irma and was cultivating two-row cabbage and broccoli plantings in no time! Still don't have the G together, though. In place of the cables that pivot all the levers, I just bolted in place a piece of flat stock that holds the assembly stationary. It works well enough, but I may replace the levers with the actual manual lift assembly that I now have.

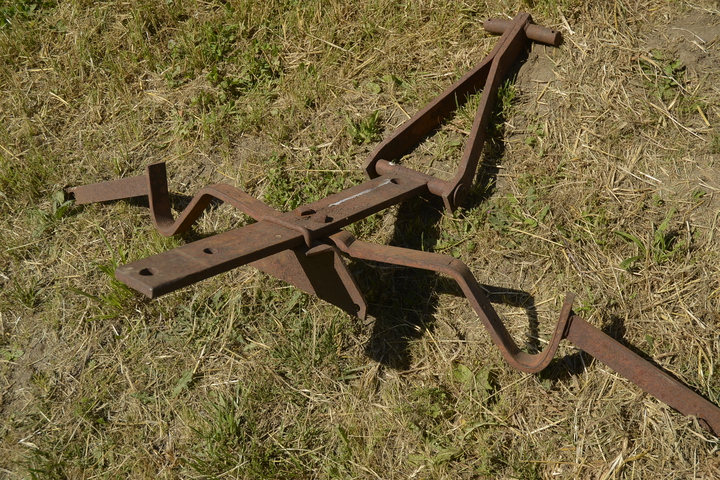
Unfortunately, I don't yet have rear gang beams for sweeping up the wheel tracks, and with the lifting links being static, the rear adjustment lever doesn't offer much range of motion at all. I have done some modifying to an old horse-drawn tine weeder lift so it mounts to the rear draw bar with four bolts and could possibly carry the GL-184 toolbar. I like being able to still use the rear tow hitch if I need to without much trouble.
Anyway, that's where she's at. I love this little tractor. Her sheet metal could use some fresh paint.
Today, while cleaning our barn, I realized that I had never tested the pneumatic cylinder for pressure and had wild curiosity to see what it could do. I plugged my air compressor gun into it, and to my amazement, the push rod shot right out--no leaks! Granted, this was achieved with 80 psi and without a weight load. How much pressure is really possible from porting the exhaust gas from a 74-year-old engine to move a few hundred pounds? While I'm tempted to reinstall this system, I've read that it can slow and inefficient. Would it be worth building a custom butterfly valve assembly? I have everything else. Thanks in advance for reading and for any thoughts.
I've named the tractor Irma, after Irma Harding. She came factory with the lift-all system and the one-bottom plow. Some parts--mounting brackets, pulleys, front and rear rock shafts, handles, etc. for GL-183 toolbars came with it, too, but not enough to actually use them, so the tractor was demoted to light towing for the first years that we used it.
Because the lift-all components were in the way of maintaining the machine, I removed and stashed them away. The manifold and exhaust valve housing were hopelessly corroded and eventually broke when I attempted to attach a new muffler.
For a few seasons, I mounted a wide shovel-like shank to the front-end mounts for the one-bottom blow--as seen in above photo--and used it to furrow rows for planting potatoes into.
A few months ago, our hydraulic-equipped Allis Chalmers G, which we rely on heavily, broke down in the middle of the season! Meanwhile, a pile of Farmall A parts, including manual lift levers, and GL-183 and GL-184 toolbars popped up on Craigslist. Excited, I snagged them all. I had seen images and videos of people seeming to adequately use these tools without the lift cylinder, using the depth adjustment levers to lift and lower the gang beams just enough.
So I mounted everything we had to Irma and was cultivating two-row cabbage and broccoli plantings in no time! Still don't have the G together, though. In place of the cables that pivot all the levers, I just bolted in place a piece of flat stock that holds the assembly stationary. It works well enough, but I may replace the levers with the actual manual lift assembly that I now have.
Unfortunately, I don't yet have rear gang beams for sweeping up the wheel tracks, and with the lifting links being static, the rear adjustment lever doesn't offer much range of motion at all. I have done some modifying to an old horse-drawn tine weeder lift so it mounts to the rear draw bar with four bolts and could possibly carry the GL-184 toolbar. I like being able to still use the rear tow hitch if I need to without much trouble.
Anyway, that's where she's at. I love this little tractor. Her sheet metal could use some fresh paint.
Today, while cleaning our barn, I realized that I had never tested the pneumatic cylinder for pressure and had wild curiosity to see what it could do. I plugged my air compressor gun into it, and to my amazement, the push rod shot right out--no leaks! Granted, this was achieved with 80 psi and without a weight load. How much pressure is really possible from porting the exhaust gas from a 74-year-old engine to move a few hundred pounds? While I'm tempted to reinstall this system, I've read that it can slow and inefficient. Would it be worth building a custom butterfly valve assembly? I have everything else. Thanks in advance for reading and for any thoughts.