Control valve rebuild kit 300U?

mlshaver1896

New User
I am about to remove the control valve from my IH 300 utility. As you can see it is leaking. Is there a rebuild kit for this job? I have searched and searched the internet with no results. O-rings can be matched but my worry is that there are gaskets that need to be had. Any help would be appreciated.

Mike
 

Here is a picture
29125.jpg


He's a picture of it
 
There never was a kit for it . There is one gasket on top end. All the rest are O-rings. All are available at CaseIH but a gasket would be easy to make and not fussy. There is a garter spring in lower end that holds valve in detent position that is often broken and also requires some ingenuity to install without the special bullet tool but doable.
 
I make a wooden nose cone and then bored out the other end so it was a reverse nose cone in the other end to install the garter spring. It worked great. And the garter spring is what was causing my one valve to leak and let whatever was on it to settle down to the ground.
 
Yes the only gasket you should need is this one (see link).

Then it's just four different O-Ring part numbers for the internal parts - and a few more for the external connections.

They're often referred to as "seals" - but don't let that throw you.

Search this website for the orings by IH part number: http://www.herculesus.com/

I prefer buying 20 or 50 orings here for roughly the same price as buying them individually through IH parts dealers. Reputable company, fast shipping. Note the choice when searching - Hercules parts or Bulldog parts - you'll find most under hercules, but if not try bulldog. Bulldog seems to be small quantity stuff, but they seem to have more #'s available.

I'm in the process of rebuidling a few of these valves myself and have most of the o-rings I need - in bulk now.

I'd offer to just mail you a set of what you need at no charge since I have so many, but I'm going to be travelling for a few days.
gasket
 
Wow. Thanks guys. That's exactly the information I was looking for. Sometimes it's hard to find info on these tractors. Now I know what I face when pulling it apart.

Thanks again,

Mike
 
actually I've got a few pictures so you can see what you're in for - it's really pretty simple. Take off front and back covers. Inside the front cover, you'll have to peel the old gasket out of the way - there's a very tiny roll pin that has to be knocked out with a pin punch for everything to come apart.

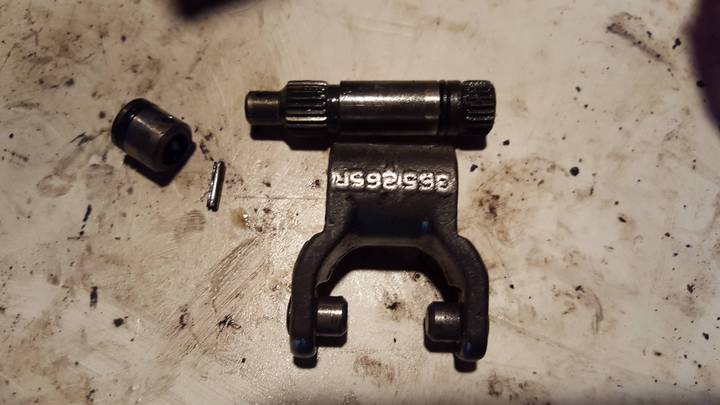
You can see that tiny roll pin in the first picture - which is a little deceiving, that pivot pin with the knurled ends fits through the arm part with the casting numbers on it - in this picture it looks like one part.

The ONE thing you have to be careful about taking these valves apart is to not lose that roll pin into the valve (like I did on my first try!) If you've got the valve out and on your bench - don't stand it up on end so you can work form the top - instead lay it in its normal position so when the pin drops out, it'l just fall to the bottom of the casting and you can safely fish it out.

The knurled end pivot pin, as you can see, is two parts - they both slide out of the casting one in one direction the other in the other direction.

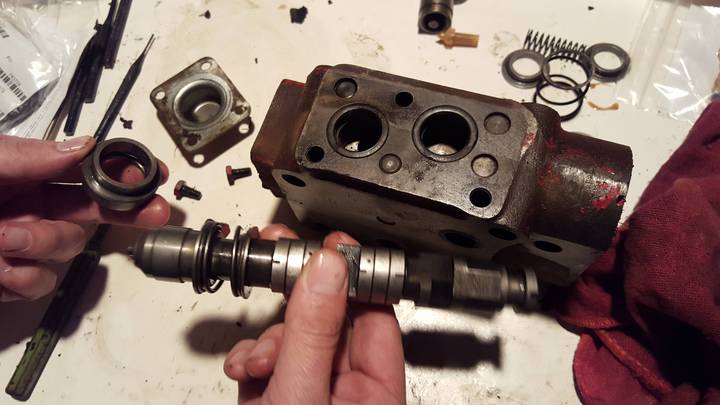
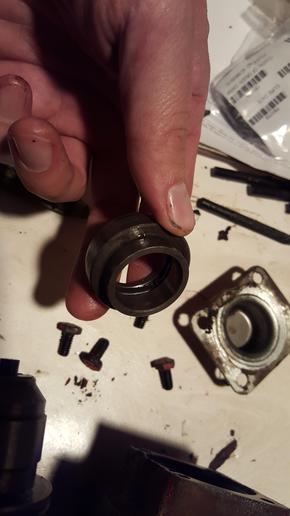
Then with that pivot pin out and that whole weird looking cage thing, the main valve part can push right out the back. There is one large ring on the back - it has an inner grove that holds the garter spring. (a separate picture so you can see the garter spring).

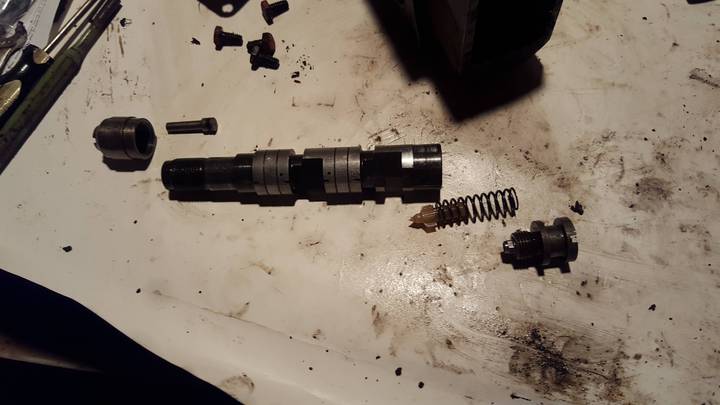
That valve part can be unscrewed on both ends - there are a few parts inside to clean and that need o-rings. (final picture).

Removing the two "screw cap" type of ends from the valve part can be a little tough - the back end is pretty easy - but the front one, you'll probably need to make a custom tool to get it unscrewed - just basicaly a large flat screwdrive with a notch filled into it to get over that center protrusion (it'll be obvious when you see it).

I used a piece of flat steel stock about 1" x 1/8" thick - and just filed a square notch in the edge. Harder to explain than to do. No pictures of it though.

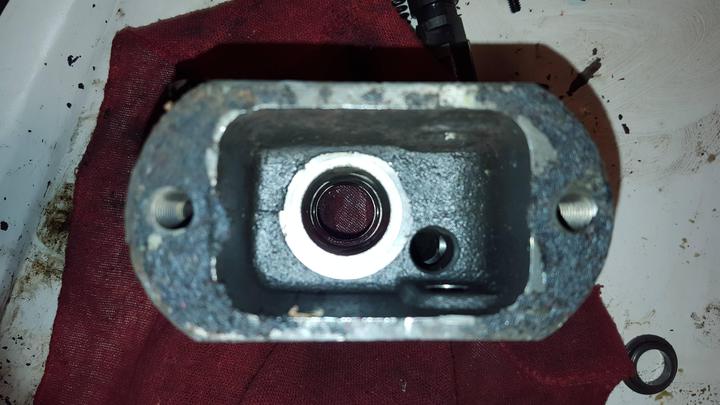
With that main valve part out - the whole valve body is just basically one big casting. That's all there is to it. Just flush it all out good. (in the last picture you can see the small offset hole where MY roll pin dropped down into... and why I say lay it flat)

Not the greatest pictures, but they should help you see that it's not rocket science - it'll all be easy once you see inside with your own eyes.

The online diagrams makes it easy to fit the parts together properly.
a203805.jpg

a203807.jpg

a203808.jpg

a203810.jpg

a203814.jpg
 

We sell tractor parts! We have the parts you need to repair your tractor - the right parts. Our low prices and years of research make us your best choice when you need parts. Shop Online Today.

Back
Top